I’m attempting to detach my husband’s company portal from its main website. For several years we’ve used Dynadot as our hosting provider. Unfortunately, Dynadot only offer VPS (Virtual Private Servers) and is no longer offering advanced hosting for purchase. I’ve familarized myself with CPanel over the years, but this my first experience with Sentora and CentOS. My first major hurdle was disabiling SSLv2 and SSLv3.
I stubbled upon SSL Labs after adding a Let’s Encrypt certificate to my site when CertBot suggested using SSL Labs to confirm my site was secure after install. SSL Labs is an amazing resource to evaluate your website’s security. This is where I learned SSLv2 & SSLv3 are outdated and increase your websites vulnerability. That’s the extent of my knowledge so you’ll have to ask Google if you want to learn more.
I’m quickly learning Sentora’s documentation is outdated and finding a solution to any Sentora/CentOS6 issue through Google searches is a daunting task. So I wanted to share how I disabled SSLv2 and SSLv3 in a Sentora/CentOS6/Apache environment.
First, install your SSL/TLS certificate.
You can install a free SSL/TLS Certificate from Let’s Encrypt. In this tutorial, you easily (no thanks to Sentora) install a Let’s Encrypt Certificate on the Sentora/CentOS6/Apache environment. I can’t speak for other environments, but perhaps you’ll find a tip in the tutorial.
Next, edit the Virtual Host file.
Locate the ssl.conf file at root/etc/httpd/conf.d/ssl.conf
Edit the default SSLCipherSuite:
SSLCipherSuite EECDH+AESGCM:EDH+AESGCM:AES256+EECDH:AES256+EDHEdit SSLProtocol:
SSLProtocol All -SSLv2 -SSLv3Add SSLHonorCipherOrder:
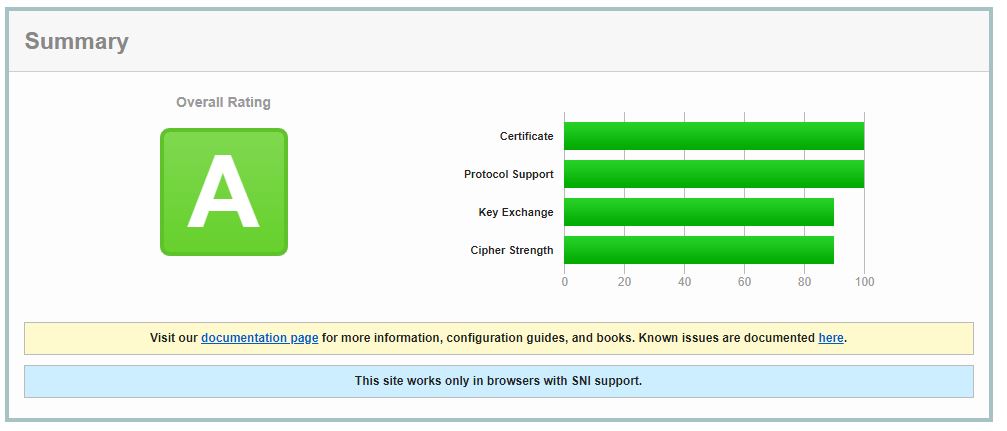
SSLHonorCipherOrder OnSpecial thanks to Idroot for providing the How to Install Let’s Encrypt SSL with Apache on CentOS 7 tutorial. The tutorial was written for CentOS7 and was entirely compatiable with my system. However, I was relieved to finally disable SSLv2 and SSLv3 using a portion of the code in Step 3 that I shared above. Adding any additional code from Step 3 upset my system, but the above seems to be the perfect solution. My site’s SSL Lab rating is now an A! I’m happy!
